

9 November 2026 · 13 min read
IPTV Configuration and Settings: How to Set Up IPTV on Firestick
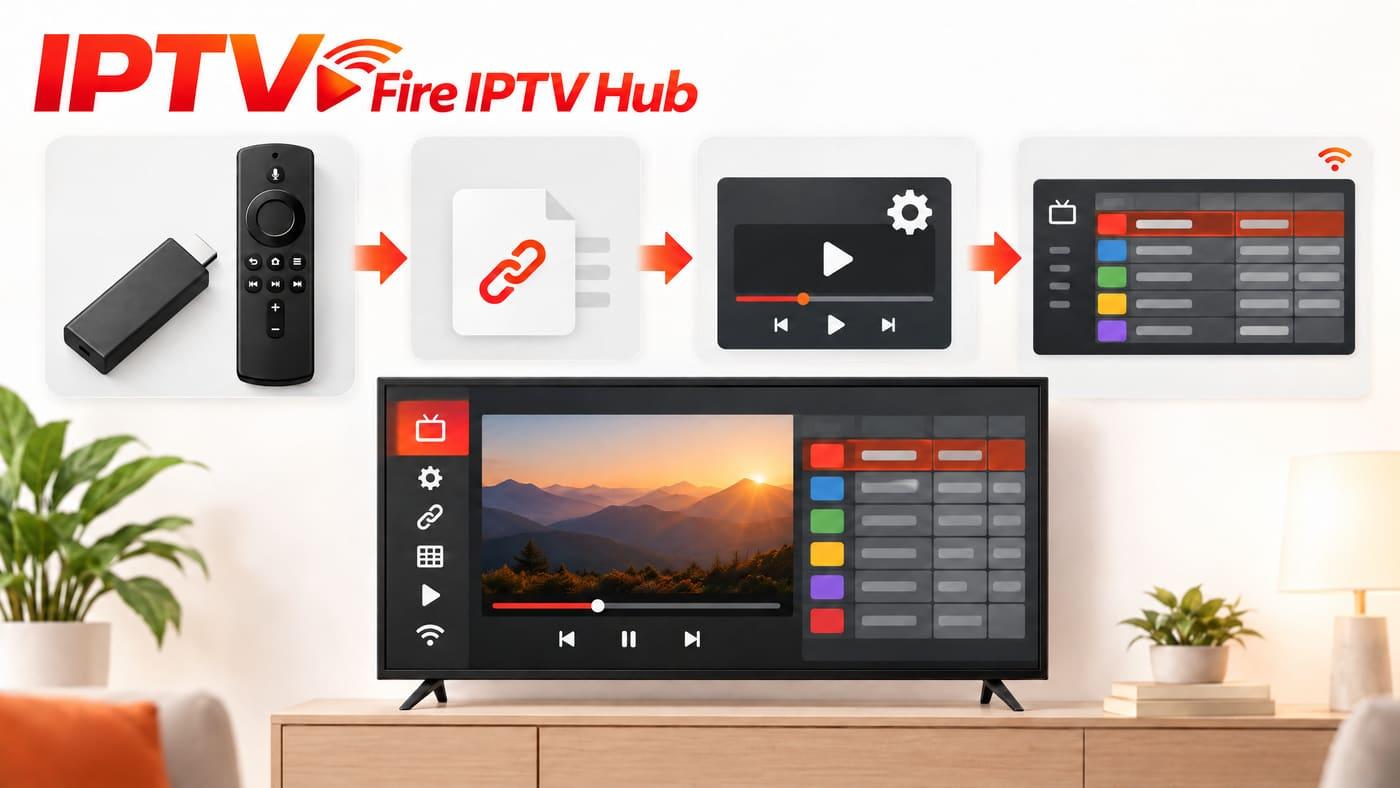
Setting up IPTV is not just about installing an application and adding your subscription details. You also need to configure the player, check your playlist connection and adjust the playback settings according to your device.
The right IPTV configuration makes it easier to browse channels, access programme information and manage your viewing experience. It can also help you identify problems such as buffering, black screens, missing channels and audio issues.
If you are using a Firestick, the process is usually straightforward. You install a compatible IPTV player, connect your playlist or account, and configure the available options. However, the exact settings depend on the application, device model and IPTV service you use.
In this guide, we will explain how to set up IPTV on Firestick, which IPTV settings you should check, how built-in player settings and hardware decoders work, and what to do when your IPTV configuration is not working properly.
What Is IPTV Configuration?
IPTV configuration refers to the process of connecting an IPTV player to a compatible streaming source and adjusting its settings for playback.
It includes more than entering a username and password. Depending on the application, IPTV setup may involve:
- Installing a compatible IPTV player.
- Adding an M3U playlist or Xtream Codes login.
- Loading channel lists and categories.
- Configuring the Electronic Programme Guide (EPG).
- Selecting a built-in or external media player.
- Adjusting hardware and software decoder settings.
- Managing subtitles, audio and playback options.
- Checking network and connection settings.
The purpose is to make sure that your IPTV application can access the available streams and display them correctly on your device.
One important point: an IPTV player does not automatically provide television channels. You need a separate subscription or playlist from a source you are authorised to access.
What Do You Need Before Setting Up IPTV?
Before starting your IPTV setup, prepare the basic information and check that your device is compatible with the application you want to use.
| Requirement | Why You Need It |
|---|---|
| Compatible streaming device | To install and run the IPTV player |
| Stable internet connection | To load playlists and play streams |
| IPTV application | To organise and play available content |
| M3U playlist or login details | To connect the application to your IPTV source |
| EPG information | To display programme schedules, if supported |
| Updated application | To reduce compatibility and software issues |
You may receive your IPTV login details in one of two common formats.
- M3U playlist: A URL or downloadable file containing channel information and stream addresses.
- Xtream Codes: A login method that usually requires a server address, username and password.
Your provider should tell you which method is supported. You do not need to use both.
How to Set Up IPTV on Firestick
The process of setting up IPTV on Firestick depends on the application you choose. However, most compatible players follow a similar configuration process.
- 1
Check Your Firestick Compatibility
First, check which Fire TV device you are using. Not every Fire TV model has the same operating system or application compatibility. Many existing Fire TV devices use Fire OS, while some newer models use Amazon's Vega OS. This difference matters because traditional Android applications and APK installation methods cannot be assumed to work on Vega OS devices. Before installing an IPTV player, check your exact Fire TV Stick model, its operating system, whether the application is available through a supported installation method, and whether the player supports your IPTV login format.
- 2
Install a Compatible IPTV Player
Open the app store available on your Firestick and search for a compatible IPTV player. Choose an application that supports your device and the login method supplied by your IPTV provider. Check its official listing and developer information before installing it. Some players support M3U playlists, while others also provide Xtream Codes login. Their interfaces and available features can differ. If you are using a Fire OS device, check the application's installation instructions. Do not assume that the same instructions apply to every Fire TV model.
- 3
Open the IPTV Application
Once installed, open the application. You may see an option to add a playlist, create a user profile or connect an IPTV account. The wording varies between applications, but the purpose is the same: connecting your player to the IPTV source. Look for an option such as Add Playlist, Load M3U URL, Xtream Codes Login, Add User, or Connect to Portal. Select the option that matches the details supplied by your provider.
- 4
Add Your IPTV Login Details
If you have an M3U playlist, enter the complete playlist URL into the relevant field. If you have Xtream Codes details, enter the server address, username and password separately. Check each entry before submitting it. A missing character, extra space or incorrect server address can prevent the application from connecting. Once the details are accepted, the player should start loading the available channel information.
- 5
Load Your Channels and EPG
After connecting your playlist, allow the application to process the available information. You may see different categories, such as live TV, sports, news and entertainment. These categories depend on the playlist and the way your provider has organised it. If EPG information is supported, load or refresh the programme guide as well. This helps display programme names, schedules and other available details. Do not worry if the guide takes longer to load than the channel list. Large playlists and EPG files can take additional time to process.
Important IPTV Settings You Should Configure
Once your IPTV player is connected, it is worth checking its settings. You do not need to change everything immediately. Start with the default configuration and adjust individual options when you have a specific reason.
The available IPTV settings depend on your application, but these are the main ones to understand.
1. Playlist Settings
Playlist settings control how your IPTV application connects to and manages its content source.
Depending on the player, you may be able to:
- Add multiple playlists.
- Rename an existing playlist.
- Refresh channel information.
- Remove an inactive playlist.
- Organise channel groups.
- Change playlist update settings.
If your provider updates its channel list, use the refresh option to retrieve the latest information.
Some applications also allow automatic playlist updates. If this feature is available, configure it according to your provider's instructions.
2. EPG Settings
EPG stands for Electronic Programme Guide. It provides information about television programmes and their schedules.
Without an EPG, you may still be able to watch channels, but programme information might be missing.
When configuring EPG settings, check:
- Whether your source provides EPG data.
- Whether the player supports the supplied format.
- Whether the correct EPG URL or file is added.
- Whether channel identifiers match the guide entries.
- Whether the guide needs to be refreshed.
Some applications support XMLTV data, while others handle programme information through their own connection methods.
If your EPG is not showing, refreshing the playlist alone may not solve the problem. You may also need to check the guide source and channel mapping.
3. Channel Settings
Channel settings help you organise the available content.
Depending on the IPTV player, you may be able to create favourites, hide selected categories, sort channels or change how the channel list appears.
For a large playlist, these options make everyday navigation easier.
You should also check whether the player allows you to search for channels. This is useful when you have hundreds or thousands of entries.
4. Subtitle and Audio Settings
Some IPTV players provide separate options for subtitles and audio tracks.
If a stream contains multiple audio tracks, you may be able to select your preferred language. Subtitle options depend on whether the stream provides subtitle data and whether the player supports it.
If audio is missing, check the selected audio track and volume settings before changing other playback options.
5. Playback Settings
Playback settings control how the IPTV application handles video and audio streams.
Common options may include:
- Built-in player.
- External media player.
- Hardware decoding.
- Software decoding.
- Aspect ratio.
- Audio track selection.
- Subtitle preferences.
These options can be useful when a particular stream does not play correctly with the default settings.
Built-In Player Settings: What Do They Do?
Many IPTV applications include a built-in media player. This means you can watch streams inside the IPTV application without opening another video player.
The built-in player is usually the simplest option because it is designed to work with the application's interface.
However, different applications support different video formats and playback features. If a stream has a compatibility problem, you may need to review the built-in player settings or test an external player.
Built-In Player vs External Player
| Feature | Built-In Player | External Player |
|---|---|---|
| Integration | Works inside the IPTV application | Opens a separate media application |
| Setup | Usually easier | May require additional installation |
| Playback controls | Depends on the IPTV app | Depends on the external player |
| Format support | Depends on the built-in engine | Depends on the external application |
| Channel navigation | Usually stays within the IPTV interface | May require returning to the IPTV app |
| Troubleshooting | Uses the IPTV app's playback options | Provides an alternative playback environment |
If the built-in player works properly, there is usually no reason to change it.
An external player is worth testing when the IPTV application supports it and you experience a specific playback compatibility issue.
Built-In Player Settings: Hardware Decoder Explained
Hardware decoding is one of the most important playback options in some IPTV applications.
A decoder processes the video stream so that your device can display it. Hardware decoding uses supported components of the device to handle compatible video formats, while software decoding relies more heavily on the device's processor.
The right option depends on the device, video codec and player.
What Is Hardware Decoding?
Hardware decoding uses dedicated hardware capabilities to process supported video formats.
On compatible devices, this can reduce the amount of work handled by the main processor. It may also improve playback efficiency.
However, hardware decoding does not support every video codec or stream configuration. A particular stream may still fail because of format incompatibility or another issue.
What Is Software Decoding?
Software decoding uses the device's CPU to process the video stream.
It can be useful when a hardware decoder does not handle a particular format correctly. However, it may place more load on the processor, especially when playing high-resolution video.
Hardware Decoder vs Software Decoder
| Feature | Hardware Decoder | Software Decoder |
|---|---|---|
| Processing | Uses supported device hardware | Uses the CPU |
| Resource usage | Can reduce CPU workload | Can use more CPU resources |
| Compatibility | Depends on hardware and codec support | Depends on the player and available processing power |
| Battery and power | May be more efficient on supported devices | Can consume more power under heavy load |
| Best use | Compatible streams and devices | Testing when hardware playback has problems |
How to Choose the Right Decoder Setting
Start with the default decoder selected by your IPTV application.
If the video plays smoothly, keep that setting.
If you experience a black screen, distorted picture or playback errors, check whether the player provides another decoder option. You can test hardware and software decoding separately.
Change one setting at a time and test the same channel. This makes it easier to identify whether the decoder was responsible for the problem.
Do not assume that hardware decoding will always provide better playback. The result depends on the device and the stream.
Recommended IPTV Settings for Better Playback
There is no single IPTV configuration that works best for every Firestick or IPTV application. Your settings should depend on the device's capabilities and the stream format.
However, the following approach provides a sensible starting point.
| IPTV Setting | Recommended Starting Point | When to Change It |
|---|---|---|
| Video player | Built-in player | When a supported external player handles the stream better |
| Decoder | Default or automatic | When a stream has playback or compatibility issues |
| EPG | Enabled if supported | When programme information is missing |
| Playlist refresh | Manual or provider-recommended schedule | When channel information changes |
| Aspect ratio | Auto | When the picture looks stretched or cropped |
| Audio track | Default or preferred language | When the wrong audio plays |
| Subtitles | Off unless required | When subtitles are available and needed |
| Channel sorting | By category or preference | When browsing a large playlist |
These are general starting points, not guaranteed performance settings. The exact options may not be available in every IPTV application.
IPTV Network Settings: What Should You Check?
Your internet connection plays an important role in IPTV playback. Even a correctly configured IPTV application can experience buffering if the network connection is unstable.
Before changing advanced settings, check the basic network conditions.
- 1
Check Your Internet Speed
Your connection should have enough available bandwidth for the video quality you are watching. As a general guide, higher-resolution streams require more bandwidth than lower-resolution streams. The actual requirement varies depending on video compression, bitrate and other network activity. Also remember that the advertised internet speed is not always the speed your Firestick receives over Wi-Fi.
- 2
Improve Your Wi-Fi Connection
If your Firestick is far from the router, the signal may become weak or unstable. Try moving the router closer, reducing physical obstructions or using a suitable wired connection if your setup supports it. You can also test the device on another network to identify whether the issue is related to your home Wi-Fi.
- 3
Restart Your Router and Firestick
A simple restart can sometimes resolve temporary connection problems. Restart your router and Firestick, then open the IPTV application again. This can help when the device has lost its network connection or the application is behaving unexpectedly.
- 4
Check Other Internet Activity
If several devices are downloading files, streaming videos or playing online games at the same time, your available bandwidth may decrease. Pause unnecessary downloads and test IPTV playback again.
- 5
Avoid Changing Advanced Network Settings Without a Reason
Some IPTV guides recommend changing DNS, VPN or other network settings immediately. However, these changes do not fix every playback problem. First identify whether the issue is caused by your internet connection, the playlist, the stream server or the application. Only change advanced settings when you understand why they are needed.
Common IPTV Configuration Problems and How to Fix Them
Sometimes IPTV works correctly during setup but develops problems later. The cause may be an expired playlist, incorrect settings, an unsupported stream or a network issue.
Here are some common problems and practical ways to troubleshoot them.
| Problem | Possible Cause | What to Try |
|---|---|---|
| IPTV app not connecting | Incorrect login details or server issue | Check your credentials and account status |
| Playlist not loading | Invalid M3U URL or unsupported format | Confirm the playlist with your provider |
| Channels missing | Outdated playlist | Refresh the channel list |
| IPTV buffering | Unstable network or source problem | Test your connection and another channel |
| Black screen | Unsupported stream or decoder issue | Test another supported decoder |
| No sound | Audio track or codec issue | Check audio settings and another channel |
| EPG not showing | Missing guide data or incorrect mapping | Check the EPG source |
| App keeps crashing | Software issue or limited device resources | Restart and update the application |
| Remote control not responding | App or device navigation issue | Restart the application and check the remote |
IPTV Buffering During Playback
Buffering is one of the most common IPTV problems. It happens when the player cannot receive and process video data quickly enough for continuous playback.
Start by checking your internet connection. Then test another channel to see whether the issue affects the entire playlist or only one stream.
If other channels play normally, the problem may be limited to the selected stream or its source.
IPTV Playlist Not Loading
If the playlist does not load, check the URL or login details supplied by your provider.
Make sure the address is complete and that your account is active. If you use a downloaded M3U file, check whether the file is readable and supported by your player.
Black Screen or Playback Error
A black screen can have several causes, including an unavailable stream, unsupported video format or decoder compatibility problem.
Try another channel first. If the same issue occurs across multiple channels, test another supported player or decoder setting.
IPTV EPG Not Working
If channels play but programme schedules are missing, check whether your IPTV source provides EPG data.
Refresh the guide and check whether the channel identifiers match the programme information. Some players also require a separate EPG URL or XMLTV file.
IPTV Guidelines: Important Things to Follow During Setup
Following a few basic IPTV guidelines can help you avoid common setup and security problems.
- Use compatible applications. Always check whether your chosen IPTV player supports your device and operating system.
- Protect your login details. Do not share private M3U URLs, usernames or passwords with unknown websites or people.
- Download from trusted sources. Use official app stores or the developer's recognised website. Avoid modified applications from unknown sources.
- Keep your application updated. Updates can improve compatibility and fix known problems.
- Check the source of your streams. Use IPTV services that have the necessary rights and permissions to distribute their content.
- Do not change settings randomly. Start with the default configuration and adjust one option at a time when troubleshooting.
- Check subscription conditions. Understand the package, renewal terms and supported devices before purchasing an IPTV subscription.
These IPTV guidelines apply whether you use a Firestick, Android TV, Smart TV or another compatible device.
IPTV Setup vs IPTV Encoder Setup: What Is the Difference?
You may also come across searches such as “how to setup IPTV encoder” or “PVI IPTV encoder setup”. These terms relate to a different type of IPTV configuration.
A normal IPTV user configures a media player to access an existing stream. An IPTV encoder, on the other hand, is professional equipment or software used to convert an audio or video input into a digital stream for distribution.
For example, a broadcaster may use an encoder to take a video signal from a camera, satellite receiver or other source and prepare it for delivery over an IP network.
What Is an IPTV Encoder Used For?
An IPTV encoder can be part of a professional broadcasting or video distribution setup.
Its configuration may involve:
- Selecting the video and audio input.
- Choosing an encoding format.
- Setting the video resolution.
- Configuring bitrate.
- Selecting a streaming protocol.
- Setting up the destination server.
- Testing the output stream.
A PVI IPTV encoder setup would therefore depend on the exact encoder model, its technical documentation and the intended broadcasting system.
This is different from setting up IPTV on Firestick. You do not need a professional encoder to watch an existing IPTV subscription through a compatible player.
Choosing an IPTV Service for Your Firestick Setup
After configuring your IPTV application, you also need a compatible and authorised source for your streams.
Before choosing a subscription, check whether the provider supports your preferred device and player. Some services provide M3U playlist access, while others use Xtream Codes or their own applications.
For Fire IPTV Hub, you can explore the available Firestick IPTV UK subscription options and contact the team to confirm the supported connection method for your device.
Before selecting a plan, consider these points:
- Does the service support your Firestick model?
- Which IPTV player or connection method can you use?
- Are M3U or Xtream Codes details available?
- Are the channels you want included?
- Is setup assistance available?
- Are the subscription terms and content rights clear?
Checking these details before subscribing can save time and help you avoid compatibility problems later.
Conclusion
IPTV configuration involves connecting your player to a compatible source and adjusting the settings needed for smooth playback. On Firestick, this normally means installing a suitable application, adding your playlist or login details, loading the channel list and checking the playback options.
The built-in player, hardware decoder, EPG and network settings all play different roles. You do not need to change every option to get started. Use the default configuration first, test your streams and adjust individual settings only when necessary.
If you are setting up IPTV on Firestick, always check your device compatibility and the login method supported by your provider. A properly configured application, a stable internet connection and an authorised streaming source will give you a much clearer starting point.